Five Simple Tips to Take Photos That Look as Great as the Real Thing
There’s nothing more exciting than bringing your idea to life – except for maybe doing it at the push of a button! Here at Glowforge, we all get giddy watching #glowforge on Instagram populate with pictures of new amazing prints every minute. Bringing an idea into reality is a phenomenal feeling and we know that sharing it can often be the best part.
That’s why we want to help you show off your creativity in the best light possible. So, here are five simple tips to get your projects camera-ready.
Act Natural
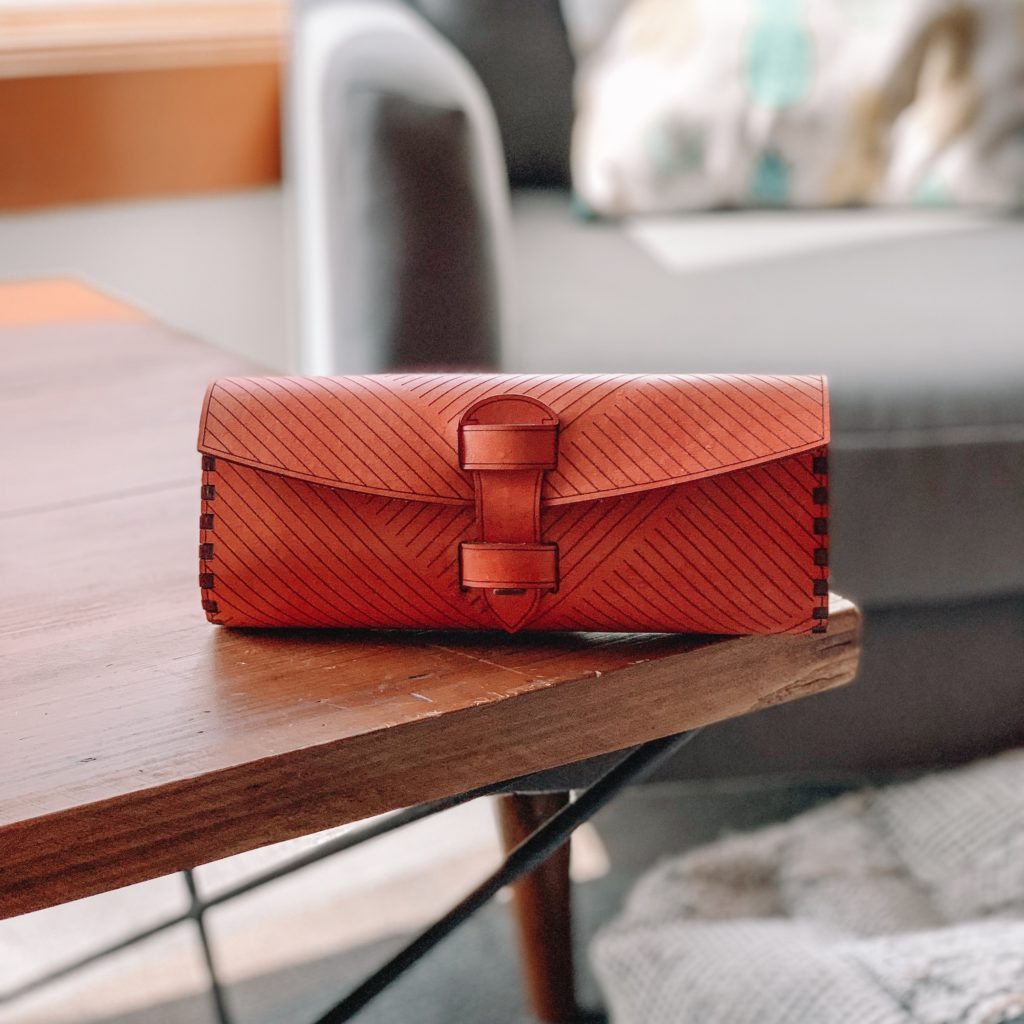
Natural lighting is key. Try to find a spot next to a window or head outside and find an area out of the direct sunlight. Do your best to avoid taking photos at night where it might require a flash or involve harsh fluorescent or uneven lighting.
Keeping the lighting as natural and even as possible will help capture the most accurate color and detail of your beautiful print.
Don’t have a lot of windows or live someplace (like us here in Seattle) where it can often be dreary and dim? In the office, we use inexpensive light boxes like AmazonBasics Portable Photo Studio – which is a great way to not only create fantastic lighting, but it also takes care of our next tip as well.
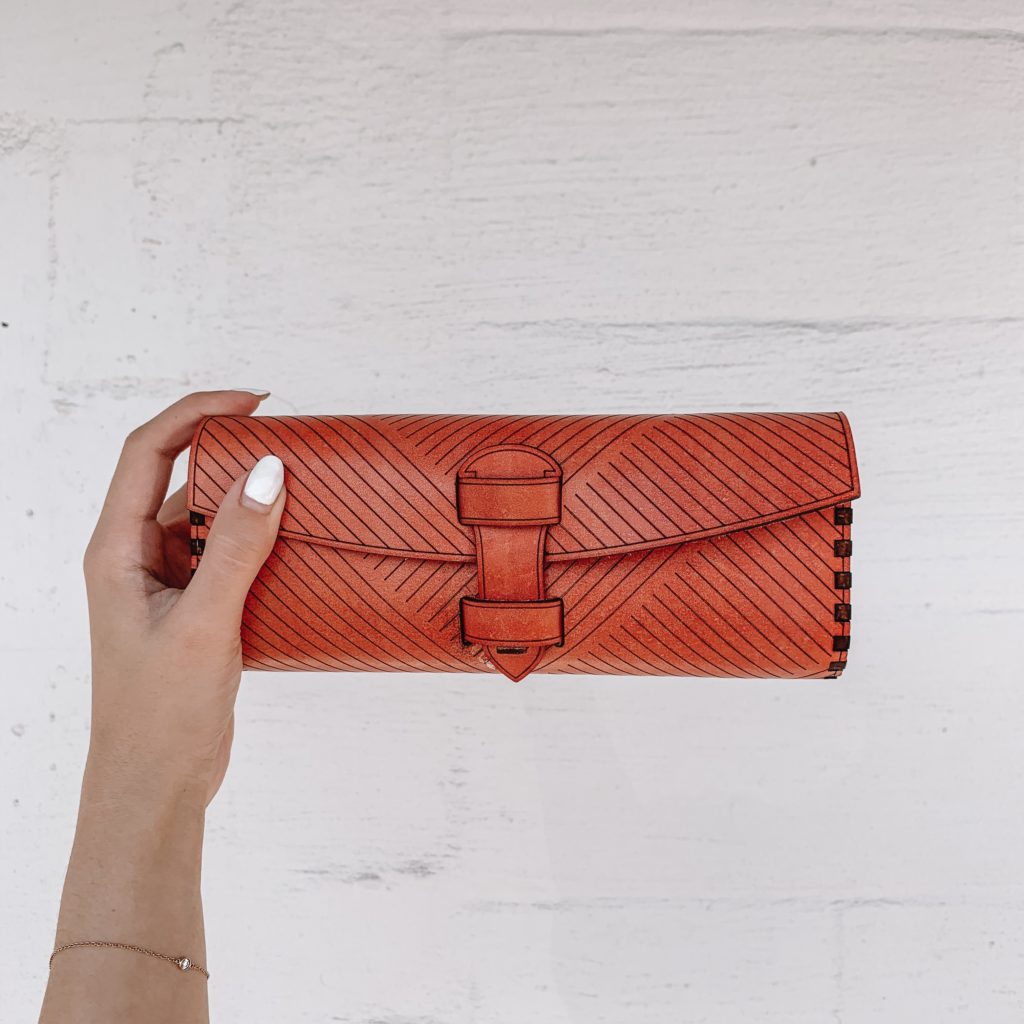
Keep it Simple
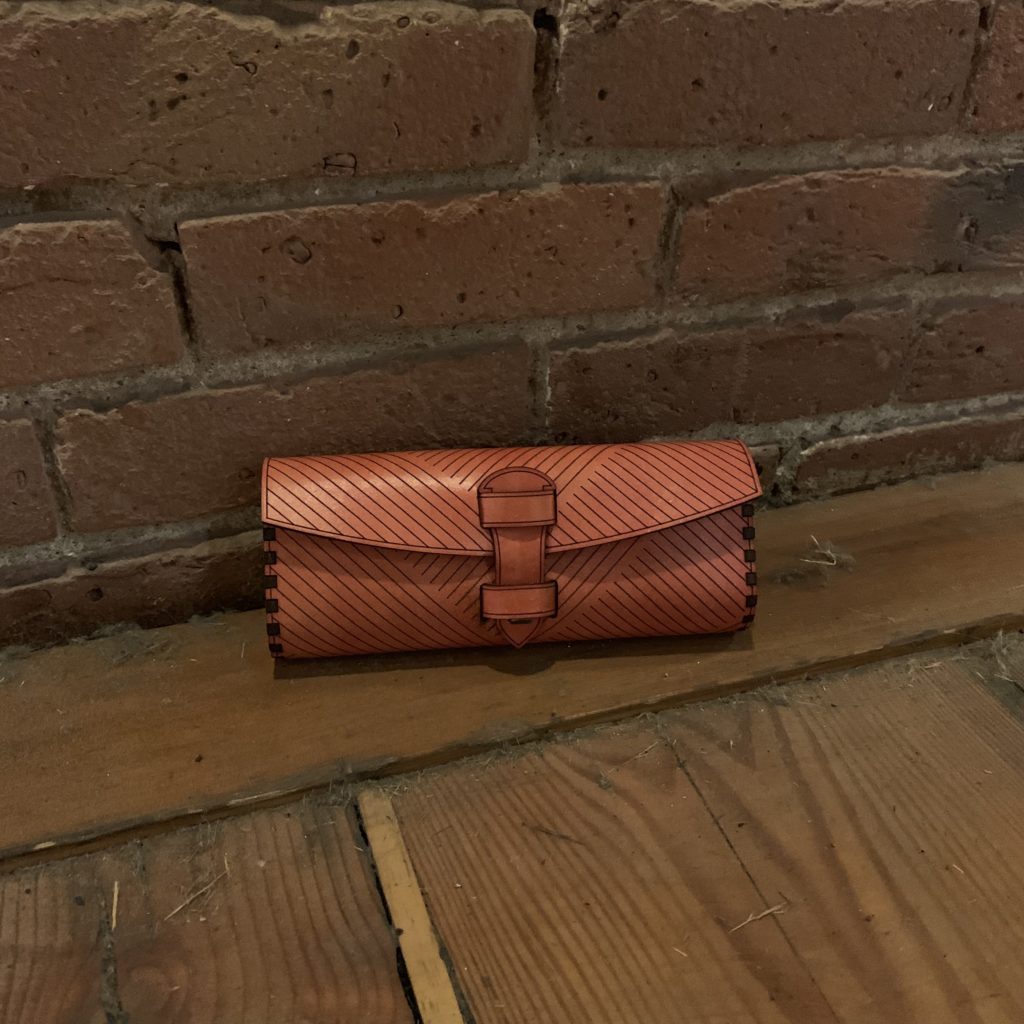
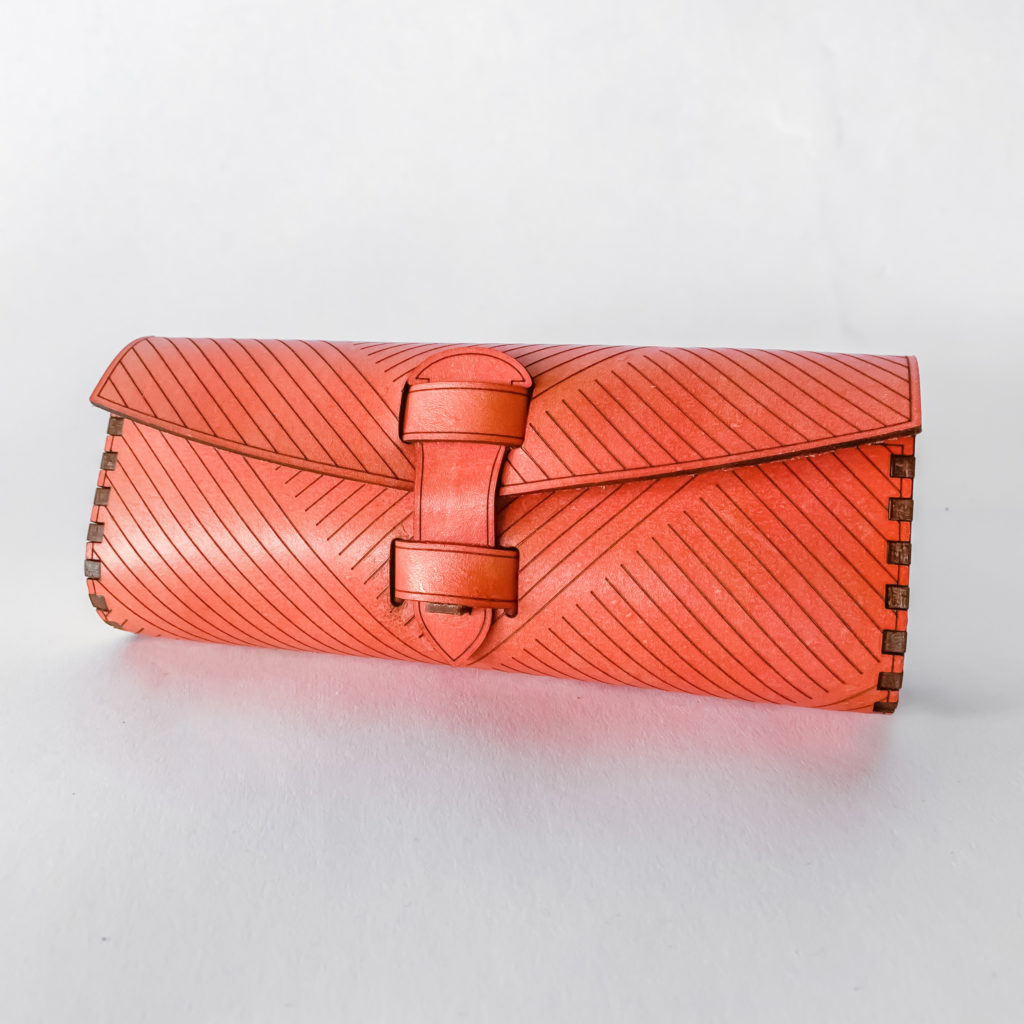
Choose a simple background and remove clutter. We’ve found that a really easy way to create a clean looking space is with white or solid color butcher paper secured to the table or hanging on a wall (but not loose or wrinkled).

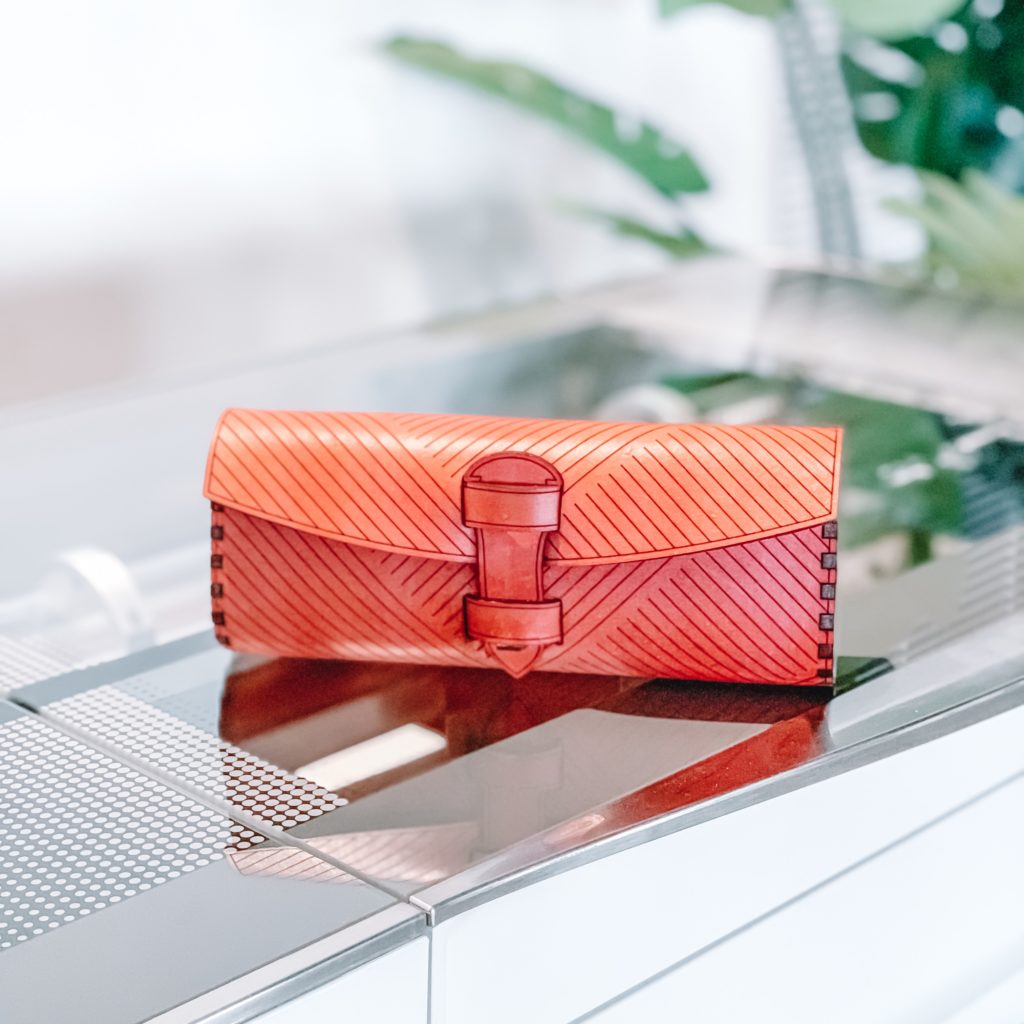
The Potential of Props
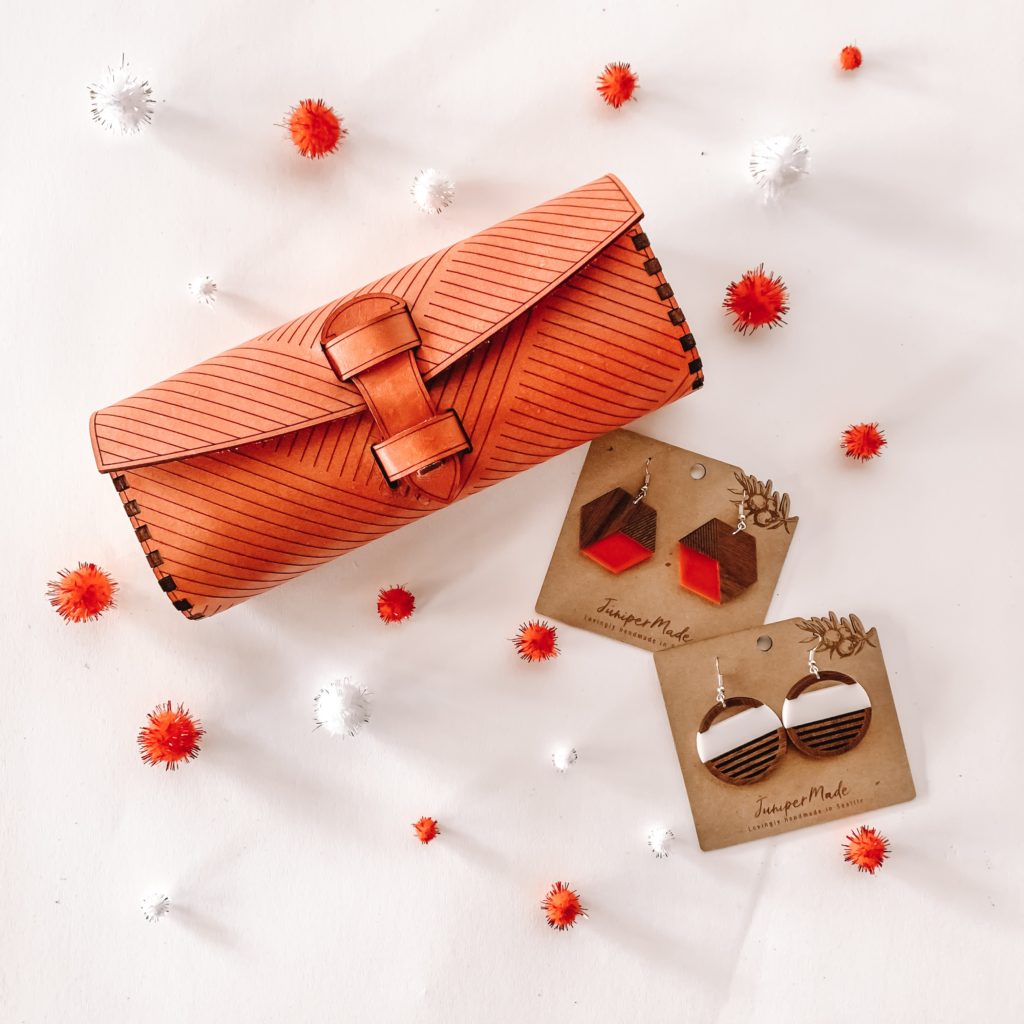
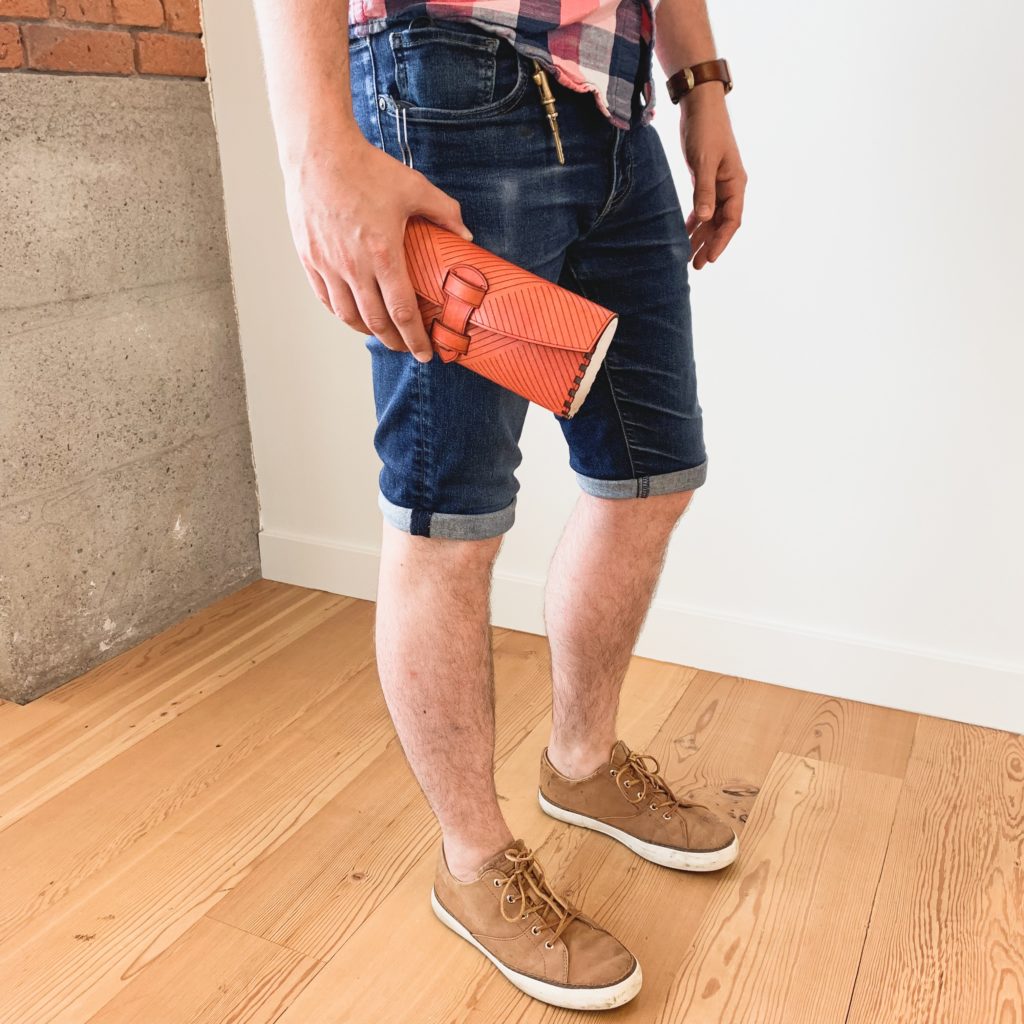
A hint of character paired with your background is the key to an eye-catching photo. Accessories can act as ‘context props’ to make the print more appealing, clarify what it is, what it should be used for, and give a general at-a-glance idea of the size.
For example, if you’re making a fun fall sign, consider taking a photo of it outside next to the changing leaves or bring some leaves inside your home to enhance your photo.
Accessories can also be used to add color to an otherwise uncolorful item. But be careful. Choose colors that look good with the color of the item and don’t clash or draw too much attention. And be sure your accessories and props don’t steal the spotlight. Double check that they don’t have any visible brand names and aren’t visually overwhelming.
And most importantly…be creative! For example, if you printed on a wooden spoon, think about taking a photo of it while stirring a steaming pot of simmering soup on the stove, or tucked in among several other simple kitchen accessories.
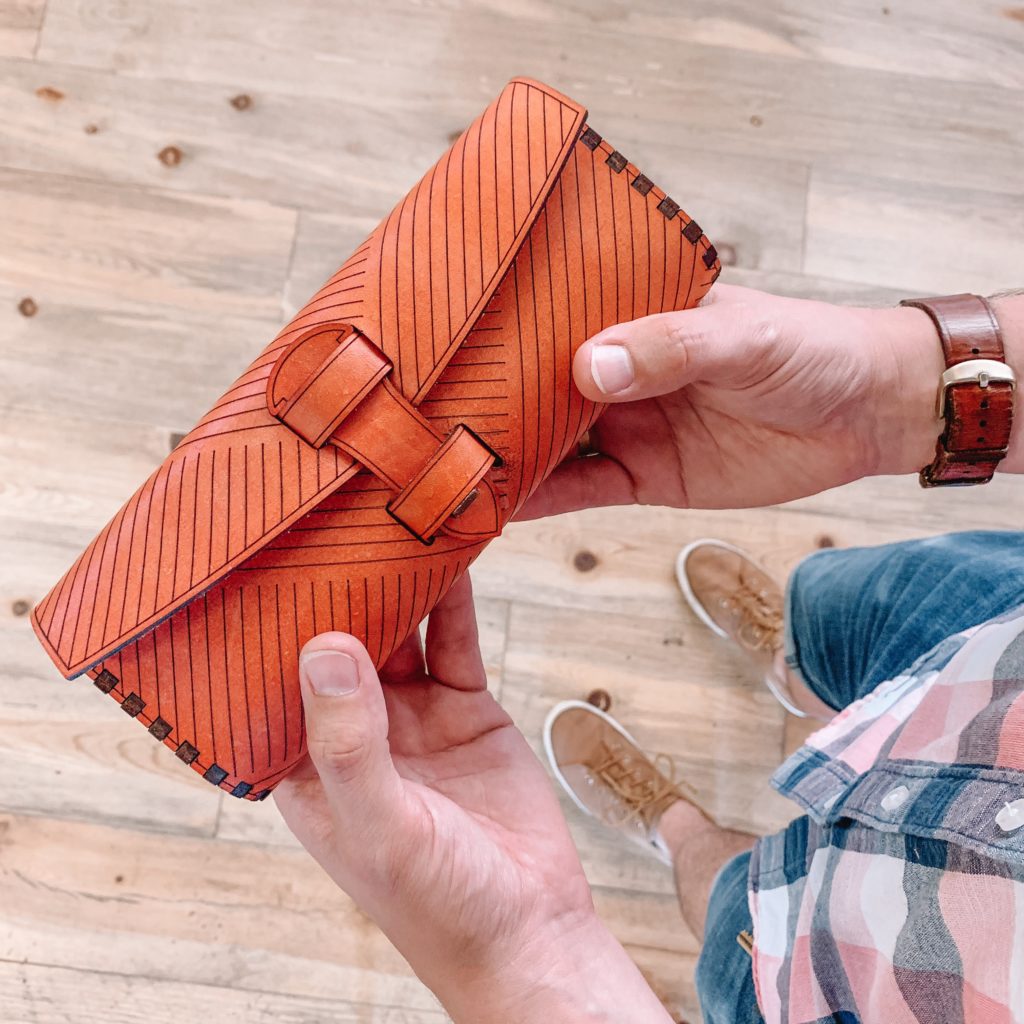
Gain Some Perspective
Having your print in the center of the photo draws your eye to it and you usually can’t go wrong with that simple setup. However, play around a bit and photograph various angles of the item (vogue, vogue, vogue).
This will help you find the angle that gives the viewer the best seat in the house so they can ogle over the crazy amazing intricacy of that engrave, the ‘how on earth did they do that’ living hinge, or the oh so subtle scoring you were so smart to think of.
#NoFilter
With all those Instagram filters and fancy smartphone features, we know how easy it can be to get carried away sliding those editing scales up and down.
But you might end up with an image that is fuzzy or even blurry and might also misrepresent your work of art. What you made is amazing – so show it off in all its glory without hiding any little detail with those trendy filters.
What you made is one of a kind, no filter needed.
We love seeing what dazzling creations y’all come up with every day and hope you’ll share them with us! If you’re so inclined, we also love those behind the scenes shots to see the magic of how your idea came to life. Feel free to tag us @Glowforge or #Glowforge on Instagram, Facebook, or Twitter so we can admire all the wonderful things you’ve created!
Happy printing – we can’t wait to see what you’ll make.